Online Exclusive
Multi-Diamond Bypass Ring 1/3 ct tw 10K Yellow Gold
$1,159.99
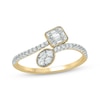
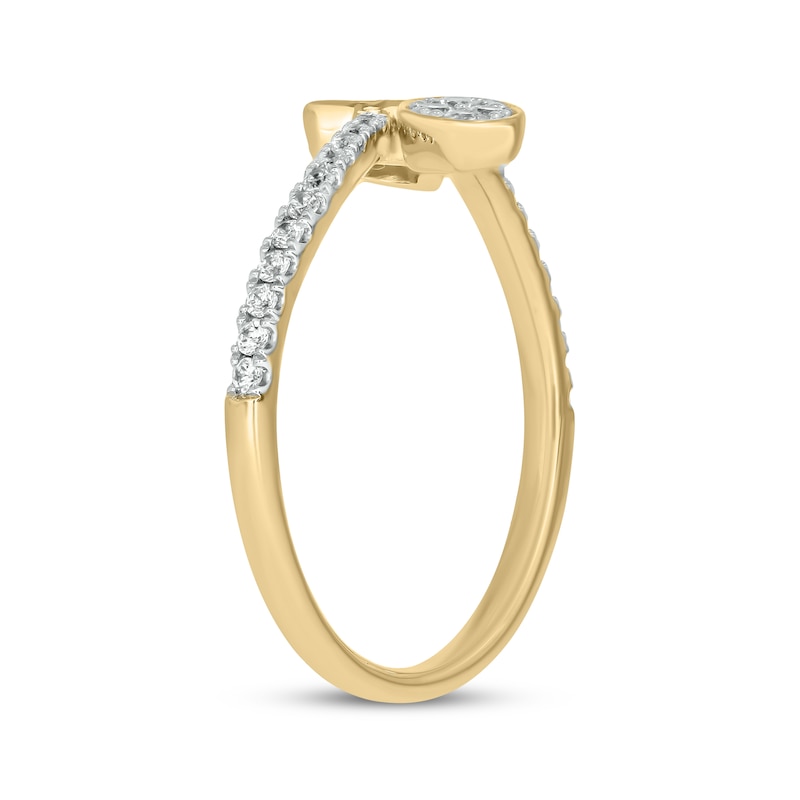
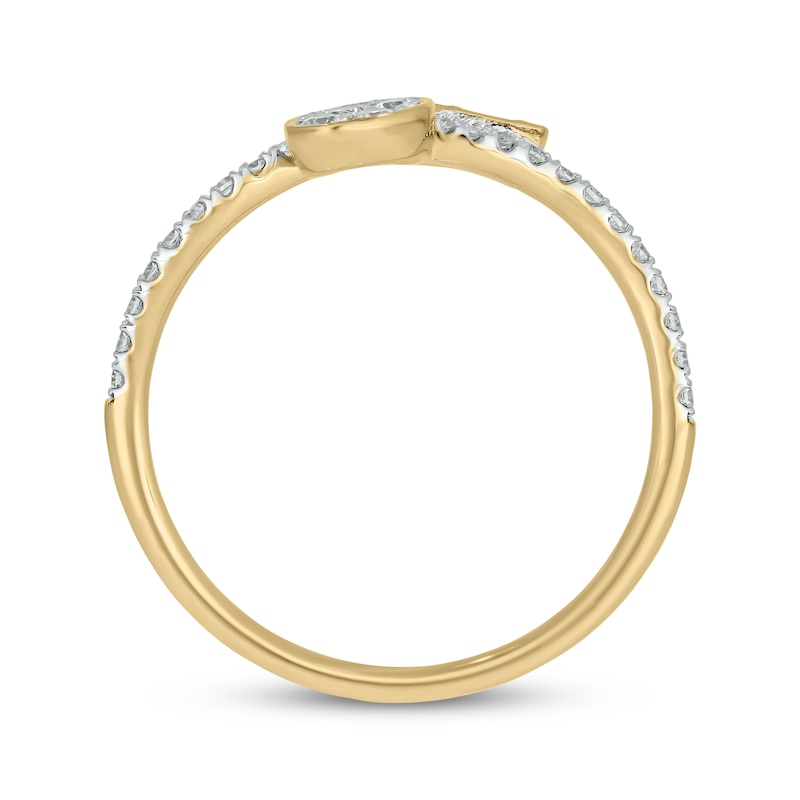
Sparkling and bold, this diamond bypass ring shows your sophisticated side.
- 10K yellow gold with white rhodium
- Baguette- and round-cut diamonds in square and pear-shaped composites punctuate the ends of the bypass design
- More round diamonds line the shank
- Total diamond weight is 1/3 carat
- : 1/3
- : I
- : I3
- : Yes
- : Diamond
- : White
- : Round
- : 1/4 Ctw - Under 1/2 Ctw
- : Natural
- : Diamond
- : White
- : Round
- : Natural
- : Diamond
- : White
- : Baguette
- : Natural
- : Pavé
- : false
- : I2-I3
- : I
- : I2
- : I
- : Gold
- : Yellow
- : Rhodium
- : 10K
- : White
- : Fashion
- : 7.0
- : 12.44 mm
- : 2.48 mm
Image for illustration only. Stone count may vary based on ring size selected.
This item is electroplated with rhodium or finished with an e-coating. These finishes may wear off with frequent use. Ask a jewelry consultant for details.
Typographic errors are subject to correction. Merchandise enlarged to show detail and may not always be exactly as pictured.
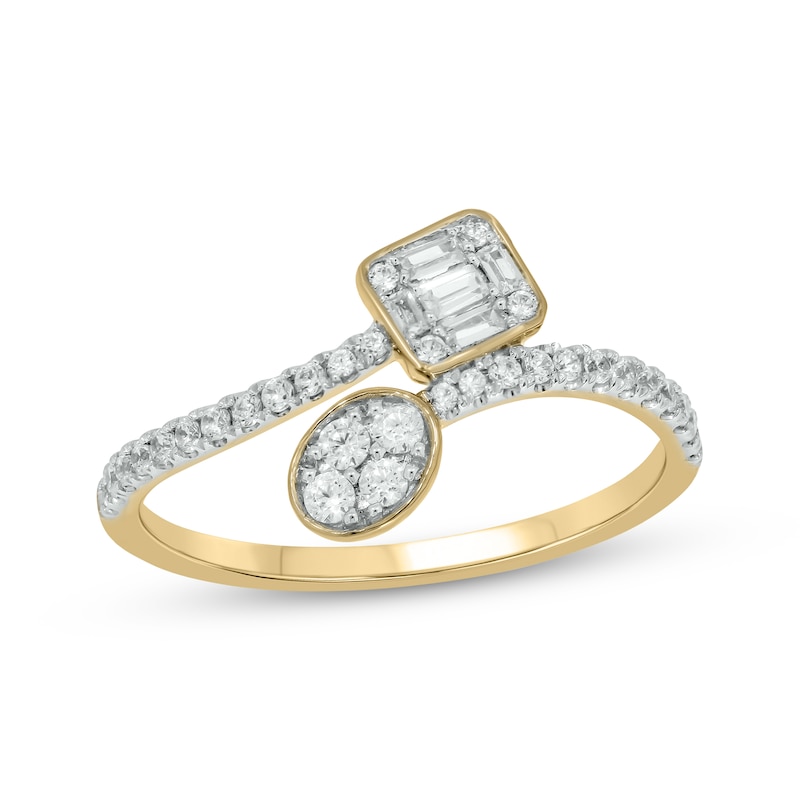